As a Composite Strengthening Systems™ Field Engineer at Simpson Strong-Tie, I’ve supported many composite strengthening projects from design through construction and had hands-on experience troubleshooting issues with FRP witness panels. Through these experiences, I’ve learned a few lessons and developed some best practices worth sharing with anyone in the engineering and construction communities who may encounter similar issues.

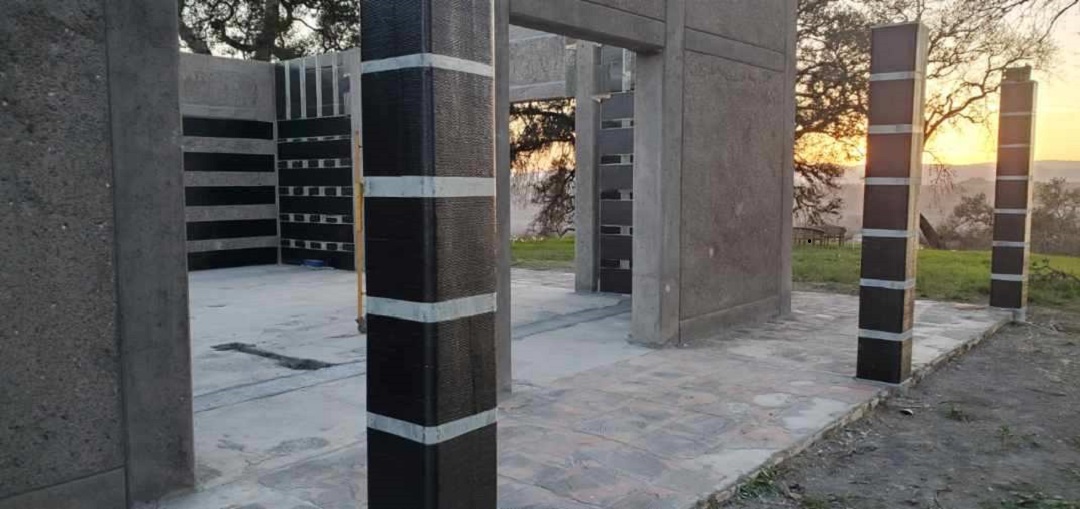
To take a few steps back, here at Simpson Strong-Tie we offer various Composite Strengthening Systems™ products: FRP, FRCM, laminates – with still more in the works. This blog post concerns a quality assurance and quality control (QA/QC) procedure specific to FRP. FRP stands for fiber-reinforced polymer, which consists of a high-strength fabric saturated with epoxy resin to form a composite, adhered to the surface of a structural element for strengthening or protective measures. One main function of FRP is to add strength where rebar or other steel elements haven’t been installed, as is the case with unreinforced masonry, or where parts of the structure have been judged insufficiently robust, as in some seismic retrofits. FRP can also be used prescriptively to extend the lifespan of a structure, by protecting it from weather and environmental exposure.
The design guide for FRP, ACI 440.2R, Guide for the Design and Construction of Externally Bonded FRP Systems for Strengthening Concrete Structures includes preparation and material testing recommendations for FRP witness panels in Chapter 7, “Inspection, Evaluation and Acceptance.” These patches of cured composite are made daily and reflect the installation team’s skills, along with any environmental variations, and are intended to demonstrate the quality of the production FRP installed that same day on the structure.
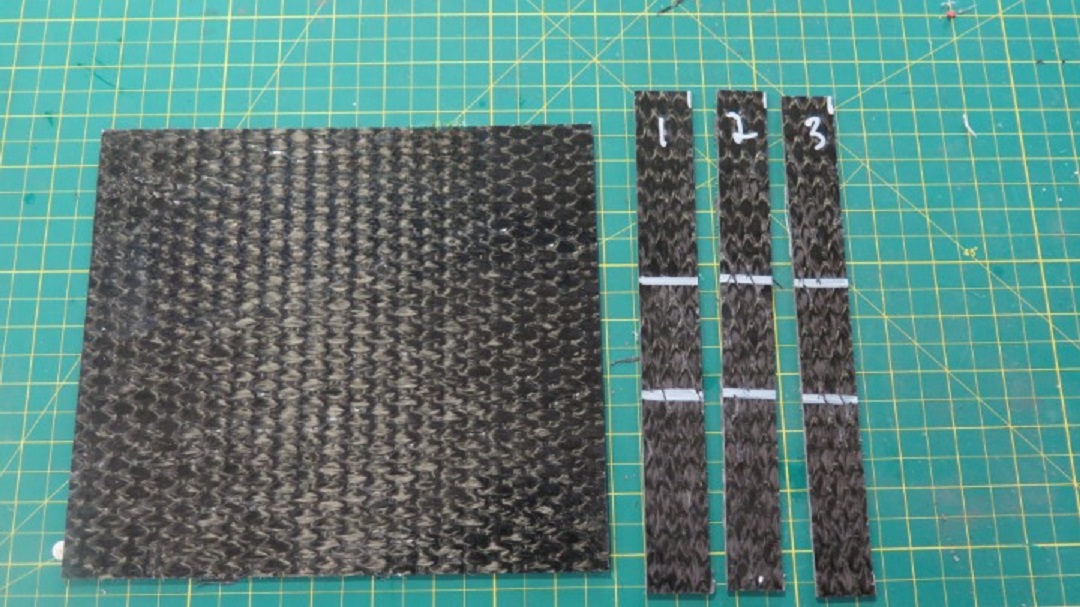
Material properties of the witness panels are determined in accordance with ASTM D3039/D3039M, or D7565/D7565M, and compared to the published Cured Composite Design values on Simpson Strong-Tie’s product data sheets. The ASTM standards outline the dimensions, preparation and testing protocol for the witness panels, and the project specifications, together with Simpson’s specifications document for FRP witness panels, outline the site requirements for the quantity of samples per shift, the number of material layers, and the proportion of total samples taken that are recommended for testing. See Figure 1 for a cured FRP witness panel, alongside strips cut from a sample to be tested in the laboratory for material properties.

Think of FRP witness panels as similar to mill certs for structural steel: Testing of these panels attempts to confirm that the contractor’s installation techniques on a given day of FRP installation were adequate, and that the FRP placed on the structure meets the performance criteria set forth by the design team.
Unfortunately, witness panels don’t always prove the FRP preparation and installation techniques meet the published material properties.
When the results of the witness panels do not match or exceed material properties – what is known as a “failure” in the inspection test report – there are various paths forward to rectify the situation. While many engineers and contractors believe remediation involves removing and replacing the installed FRP, or adding more layers, we consider those options a last resort. Following are potential steps toward resolving nonconvergent results.
Step 1: Review Test Samples.
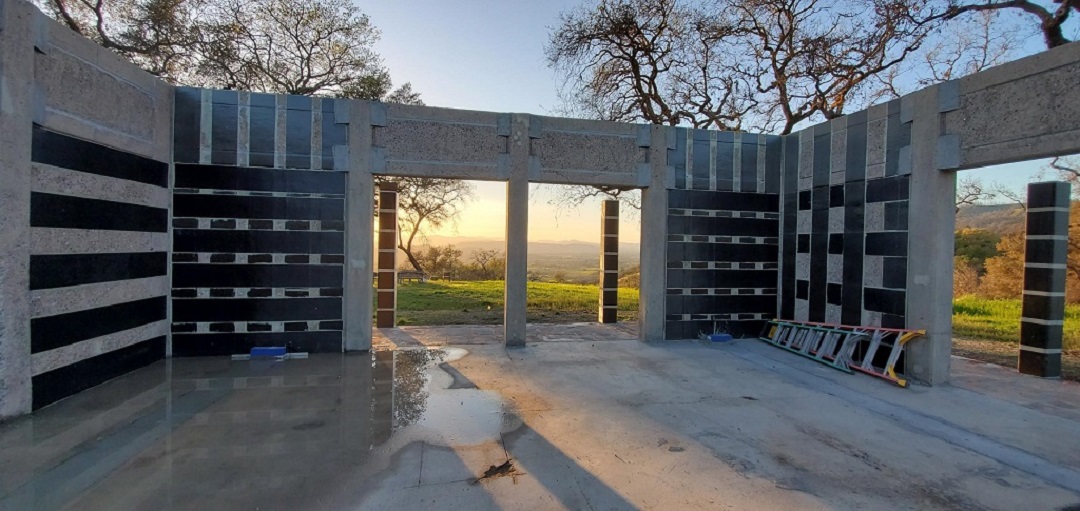
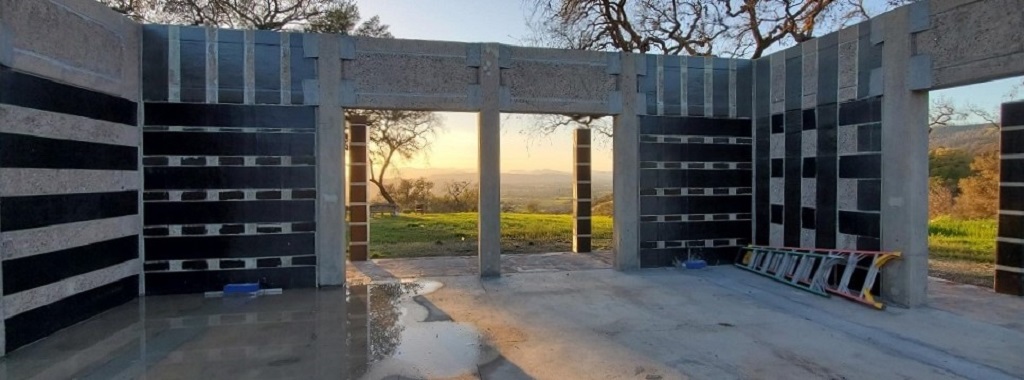
The engineer and installation team may want to visit the test laboratory to review the test samples for their conformity with the provisions set forth in ASTM D3039 and/or ASTM D7565. This can provide a lot of information on the source of the failure results. Have the samples been prepared properly,both by the specialty contractor and by the testing laboratory? Given that tested coupons are only a small percentage of the daily samples taken, as required in the project specification document, if the panels themselves have not been made properly, the project team may choose to test other witness panels taken during the project. See Figures 2 and 3 for sample witness panel defects.


Step 2: Provide Recommendations for Best Practices.
FRP witness panels are prepared on a jobsite, whereas the published material properties of the FRP composite are from samples typically prepared at a controlled laboratory environment. Best practices recommendations can be made both for the site team, as well as the test laboratory. For example, if the jobsite is cold, a space heater may be used on the epoxy mixing bucket and sample table to keep the epoxy at the appropriate temperature. Is the specialty contractor using the right mixing paddle for the epoxy? Are they spinning backwards so as not to entrain bubbles? Good test sample preparation is also important: There was a test laboratory I know of that sent their team to the same university where the original material property testing was performed to take a “master class” in test specimen preparation.
Step 3: Ask: Do the Reduced Material Properties Meet the Performance Requirements?
As with other structural materials, we don’t design FRP to failure; instead, there are reduction factors applied during the design to ensure residual capacity in the system. What we can do with deficient witness panel results is review the specific structural demand, cross-referenced with the precise location of the installed FRP that correlates with the witness panel, and evaluate whether the reduced material properties are sufficient for the demand. Given that FRP witness panels are affected by the epoxy batching and preparation procedures of the installation team, they may not provide an exact replica of what is installed on the original substrate. I have worked with engineers who, in the wake of deficient witness panel test results, have pursued in-situ testing of the installed FRP’s bond to the substrate per ICRI Technical Guideline No. 210.3R to validate that the FRP is performing as intended.
Step 4: Add Layers or Replace FRP.
In the case that the above steps don’t resolve concerns, the next path in remediation is to evaluate the FRP demands using the reduced material properties per Step 3 above, and recommend the installation of more layers of material based on what’s required to bridge the gap. The specialty contractor can return to the jobsite, of course at costs and phasing inconveniences to the project, roughen the surface of the installed, cured FRP and add further layers of FRP fabric and FRP anchors as deemed necessary. In a rare, worst-case scenario, where the installation is judged by the project team and inspectors to be installed poorly, the original FRP strips may need to be removed and replaced, possibly even by a different FRP installer who has greater experience working with the materials.

As long as I’ve been managing FRP projects, the steps above have furnished a reliable checklist for resolving issues that involve failed witness panels. Each time we’ve encountered such issues, we’ve learned new lessons that testify to the worth of the procedures we’ve outlined above, or we’ve been able to develop creative solutions that meet project requirements and satisfy the project team members’ needs. If you come across an issue with FRP witness panels on a composite strengthening project, I hope the guidance above is helpful!


