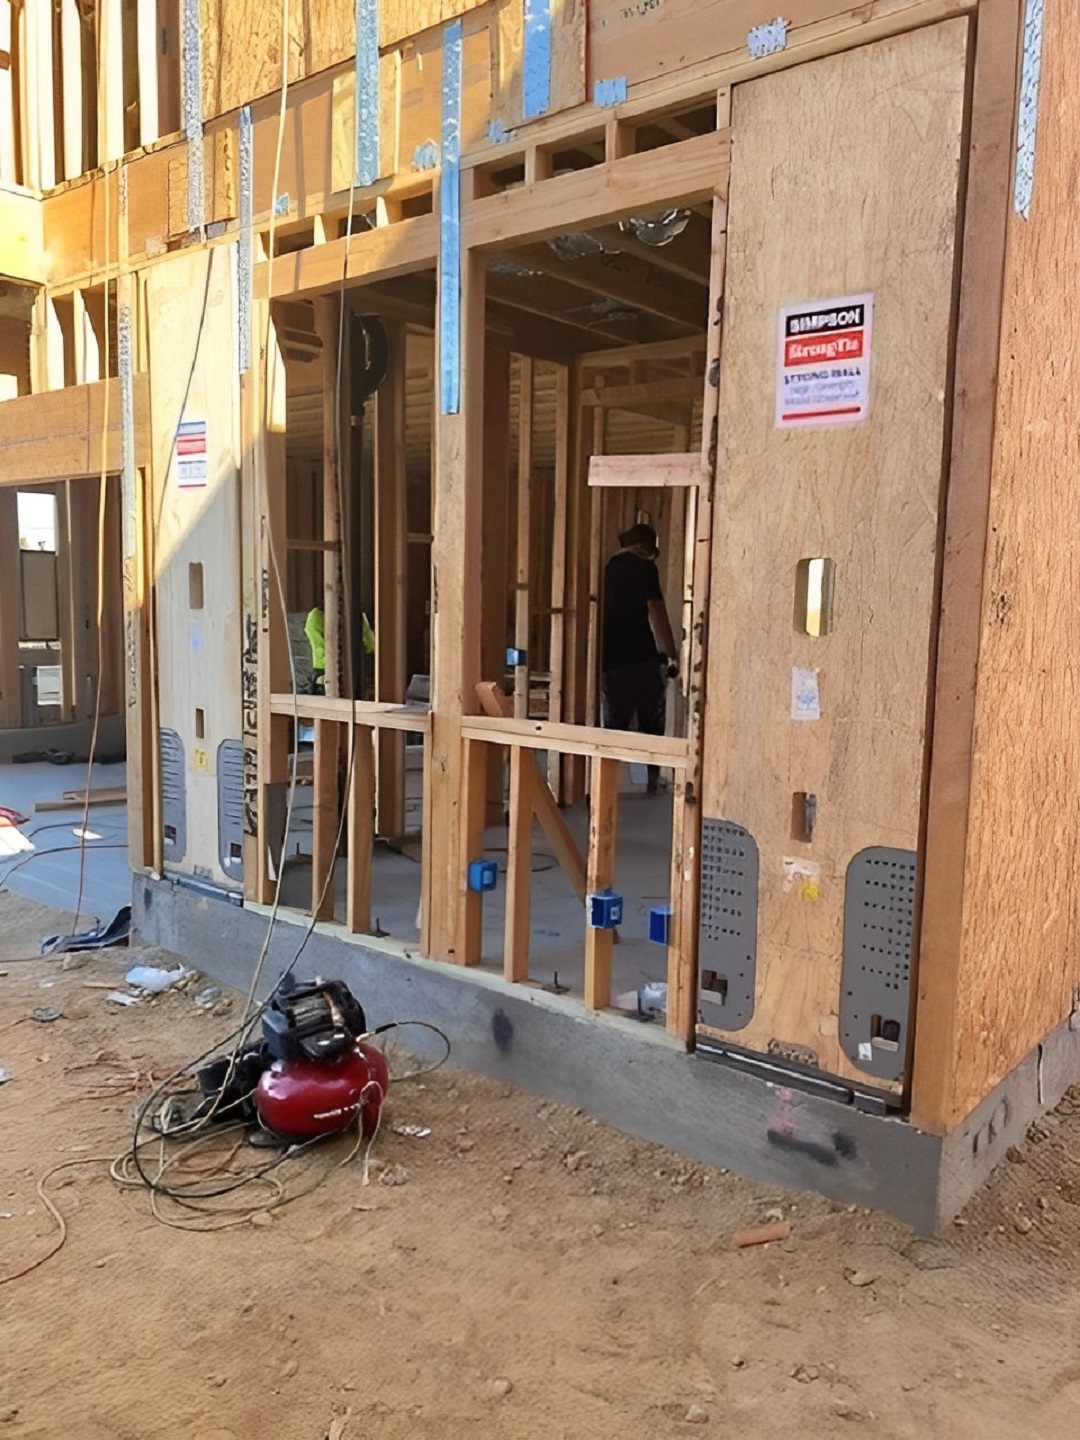
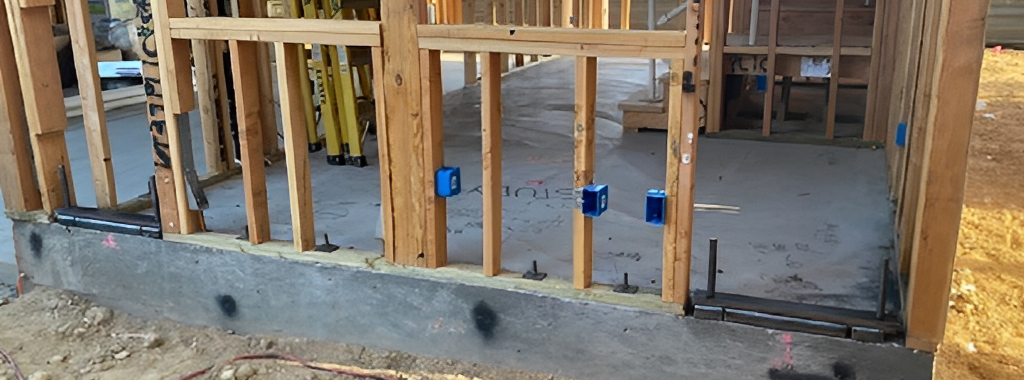
For several years, the Simpson Strong-Tie Strong-Wall® research and development team has kicked around the idea of developing an “adapter” that would allow for field substitutions or accommodate misplaced Strong-Wall anchorage.
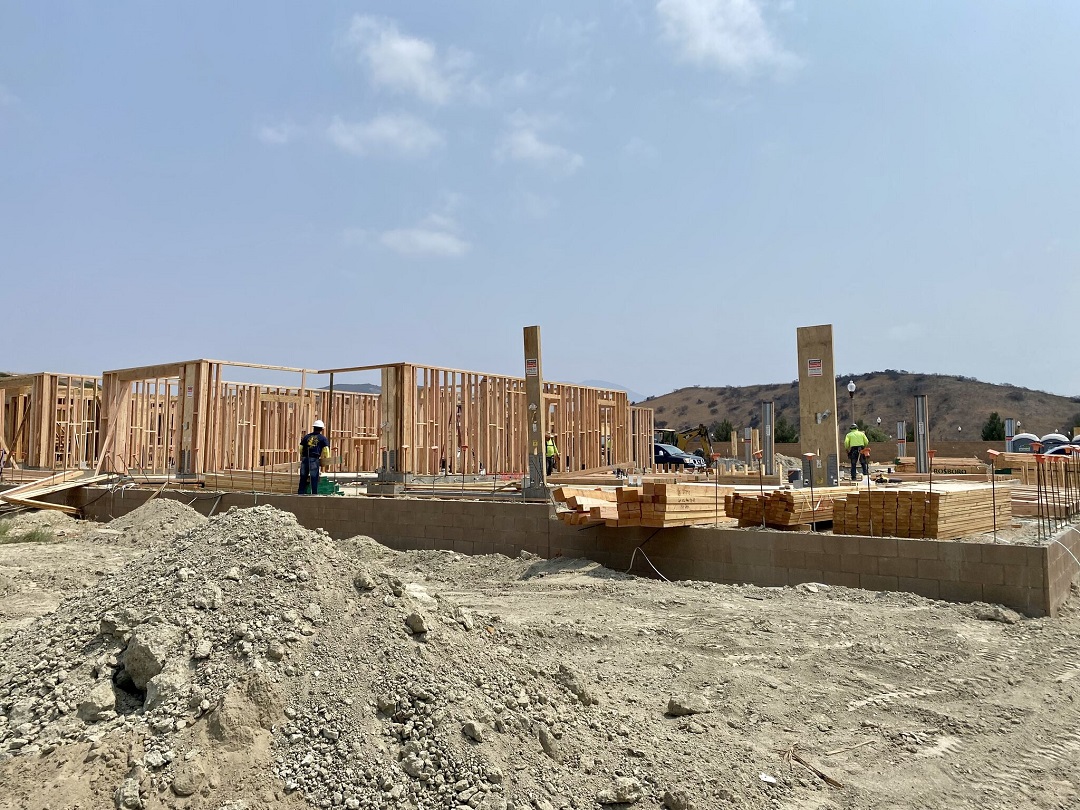
The Strong-Wall WSWH high-strength wood shearwall uses 1″-diameter anchor bolts, and our SSW Steel Strong-Wall® installs with either ¾”- or 1″-diameter anchor bolts — depending on the model. Additionally, Simpson Strong-Tie Strong-Wall shearwalls also feature different on-center spacings for the anchor bolts across some like-width models. This makes an “easy substitution” nearly impossible.
Aside from jobsite conversions, the other area where the adapter provides value is in cases where the anchor bolts haven’t been correctly placed in the field and the concrete has already been poured. This is often the case when an anchor bolt template is not used. Historically, our only option has involved costly concrete demolition and trying again with a template or drilling through thick concrete members and pouring new foundations below the existing.
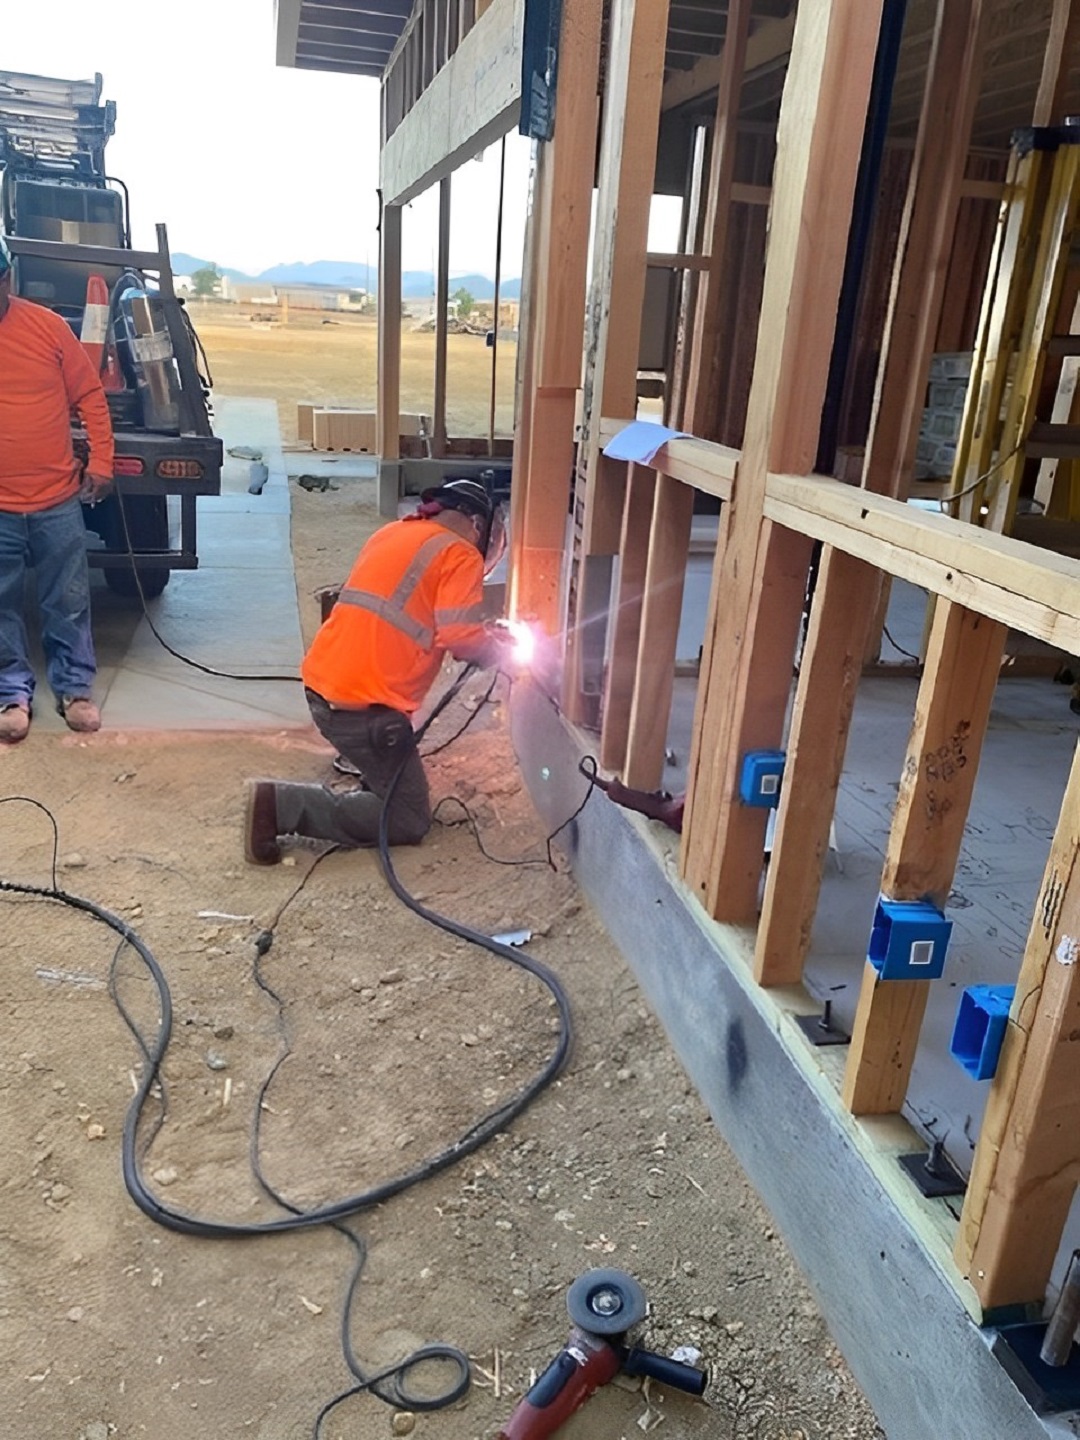
Simpson Strong-Tie Engineering Supervisors Caleb Knudson and Rachel Holland spearheaded the solution to this challenge by working together with our engineering team to develop an adapter. Below is a step-by-step description of how the adapter works.
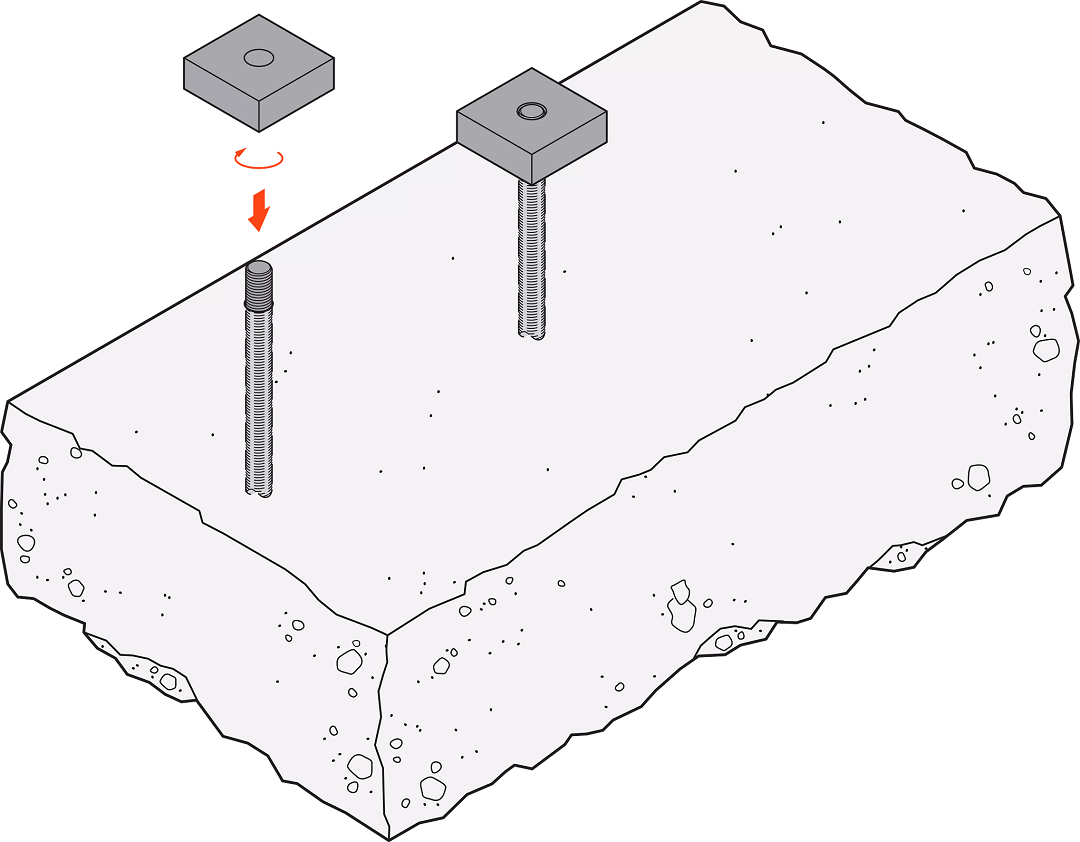
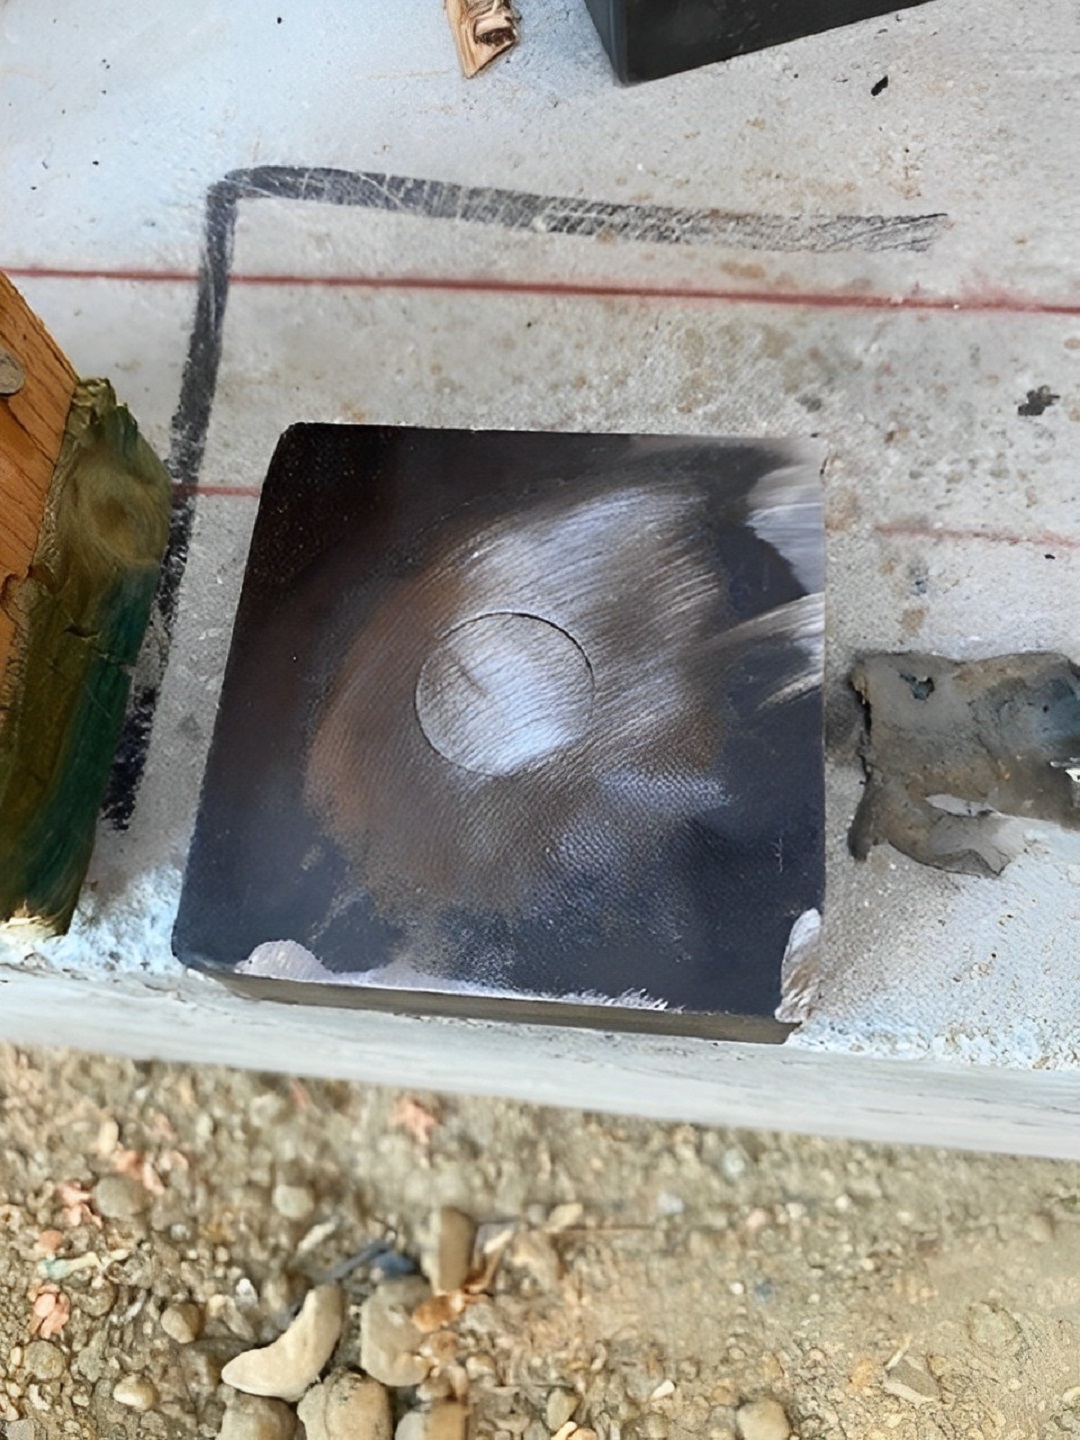
Step 1 — The solution consists of two 1¼”-thick by 3½”-square steel plates with tapped holes that thread onto the anchor bolts that are already set in concrete. The fact that these plates are square allows them to be tightened in quarter-turn increments so that they are both tight to the concrete and the plate edges are in the same plane as the 2×4 framed wall. They may also accommodate any anchor bolt spacing associated witha different manufacturer’s wall or Simpson Strong-Tie Strong-Wall shearwalls. The existing anchor bolts are then trimmed flush with the top of the steel plates.
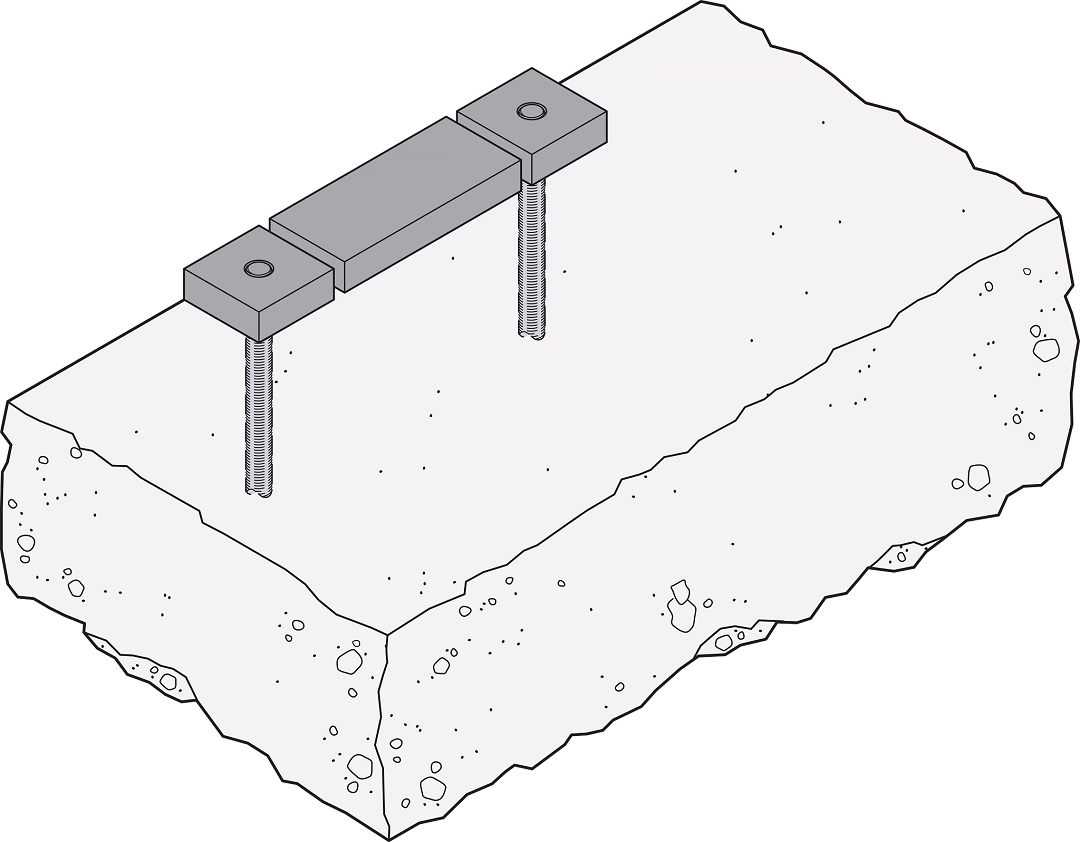
Step 2 — A spacer plate is placed between the two square steel plates. This 1¼”-thick spacer plate is pulling double-duty by providing additional concrete bearing capacity for the entire assembly and stiffening up the continuous plate above it (which is detailed in Step 3).
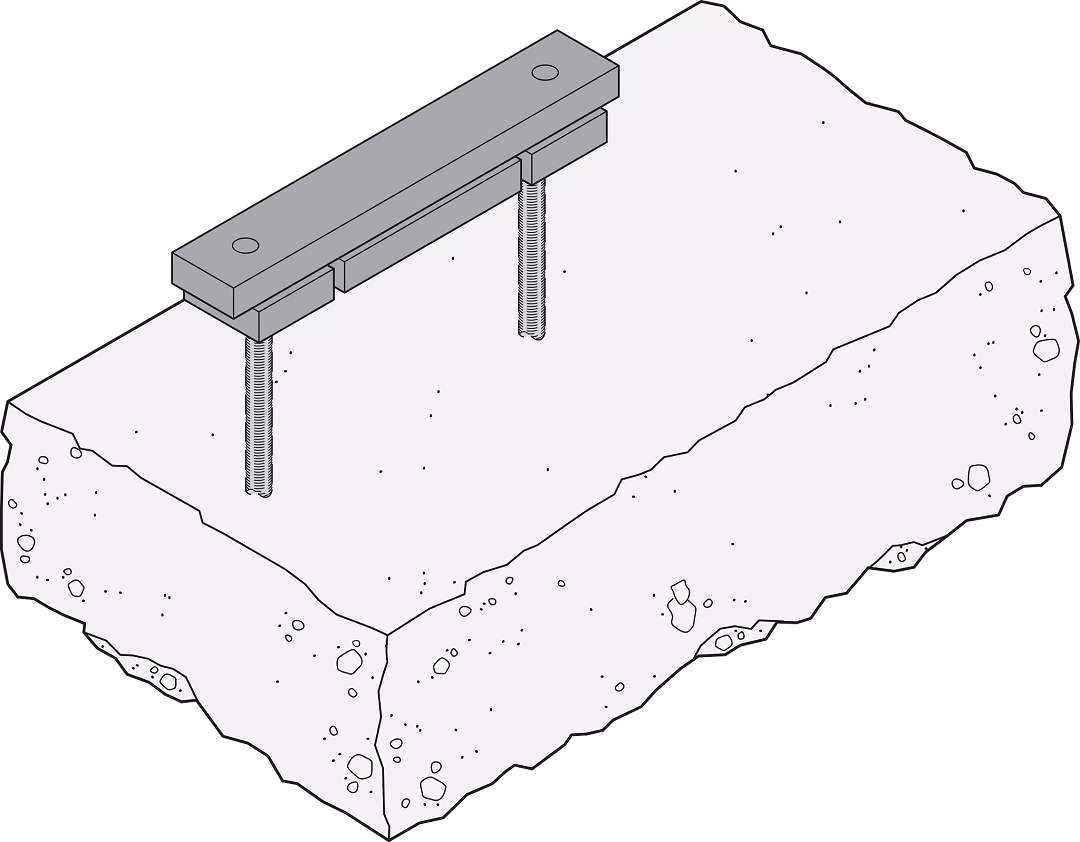
Step 3 — A continuous plate spanning the square plate washers and spacer plate provides a bearing surface and connection point for the SSW or WSWH. It features two ¾”- or 1″-diameter tapped holes in the correct location to allow for Strong-Wall panel installation.
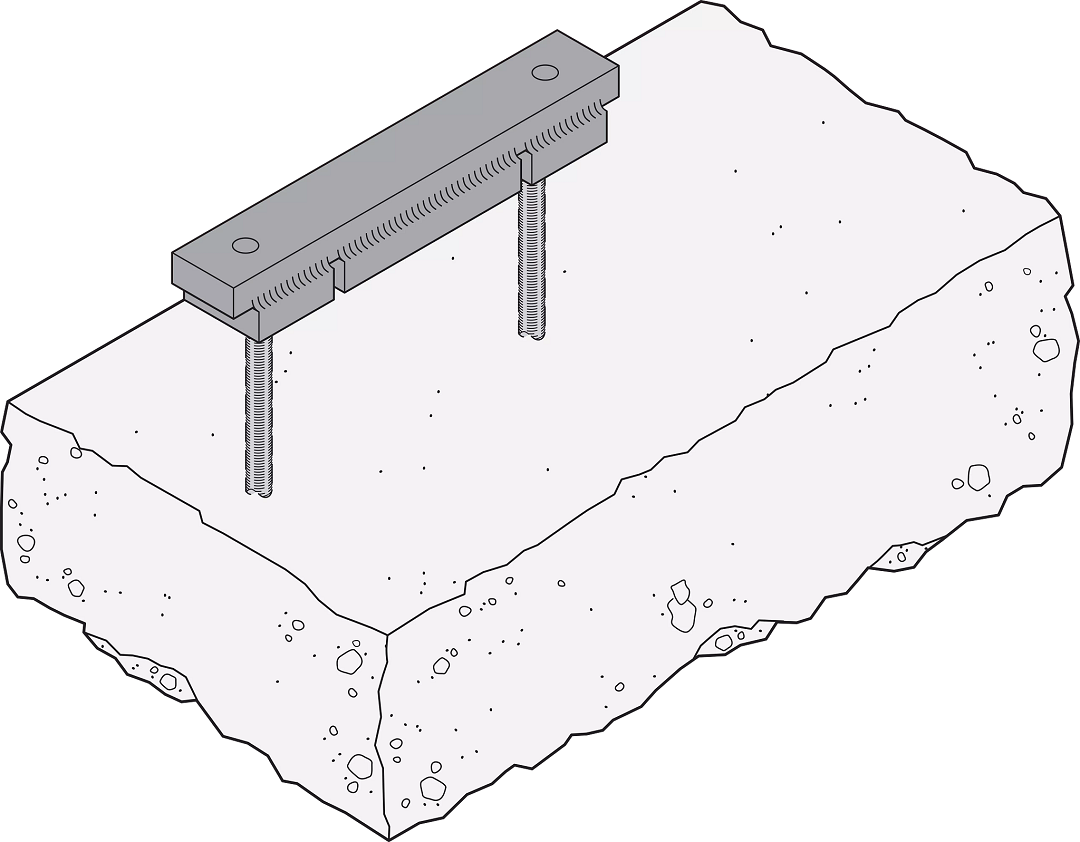
Step 4 — The final step before installing the Strong-Wall anchor bolts is to connect the pieces together. The connection is made in the field by a certified welder with simple fillet welds from the continuous steel plate to the plates below. This provides a strong and stiff surface for the SSW or WSWH to be installed onto.
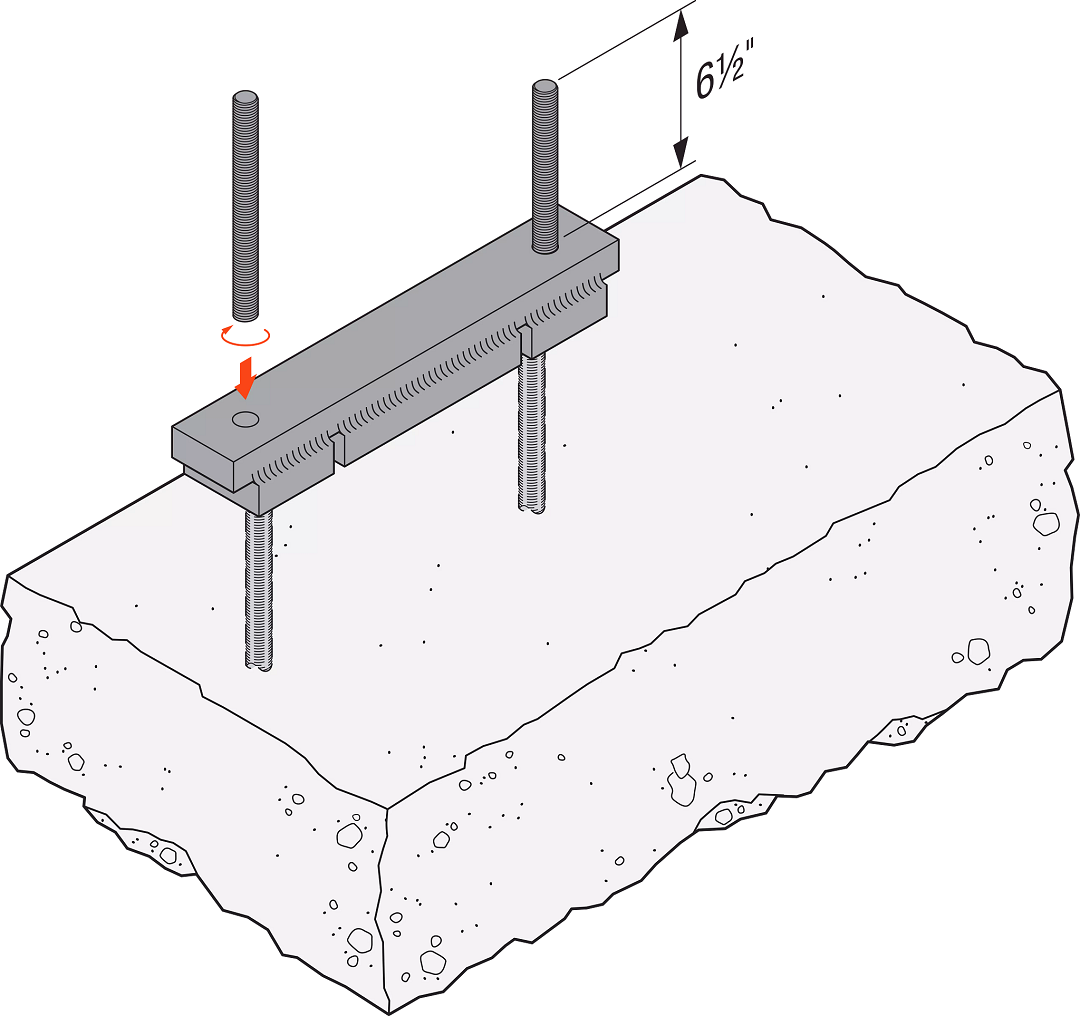
Step 5 — Custom length anchor rods are then threaded into the continuous upper plate to allow for Strong-Wall attachment. Since we need to reduce the height of the Strong-Wall panel by the height of the adapter assembly, the preferred solution is the WSWH high-strength wood shearwall. This panel is made of a wood-based material which can be trimmed in the field with a skill-saw — one of its most popular features. The same cannot be done with the SSW Steel Strong-Wall® shearwall.
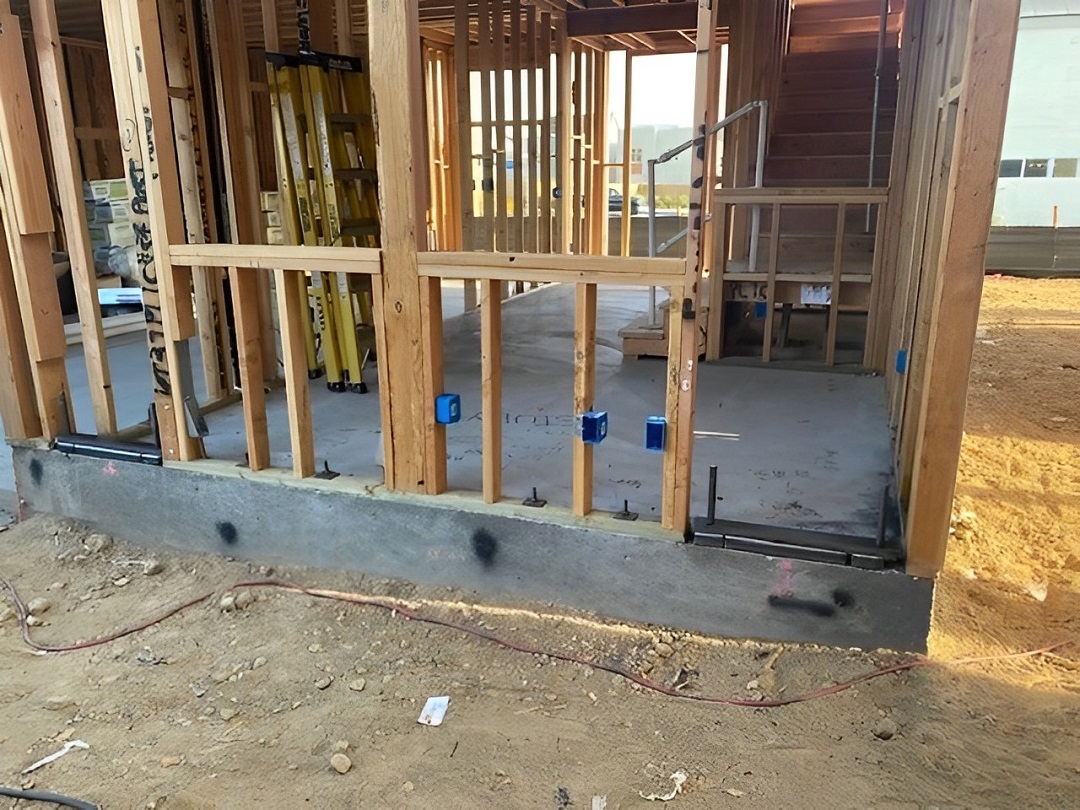
And there you have it, a solution that has been incredibly well-received in the field — especially when the alternatives are to bring out a jack-hammer or spend two full days drilling the required holes into the existing concrete foundation so that underpinning can take place. And for both of these typical fixes, new concrete must also be poured. Instead, our adapter allows you to fix your anchorage without breaking your schedule.
