A few years ago, we did a post on creative uses of our products. Most of the uses shown were artistic, or functional do-it-yourself projects, with one odd car spoiler modification. This week, I was reviewing some slides in a presentation that I give a few times a year regarding product installation errors. I call them misinstallations, but I’m not sure that’s a word. I thought I’d share a few of the more instructional ones. Most of the photos were curated by our northwestern region training manager, Olga Psomostithis – thanks Olga!
Double Shear Hangers
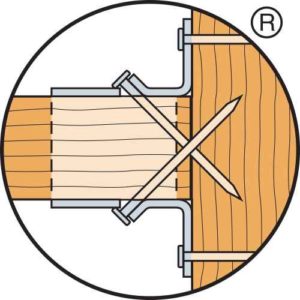
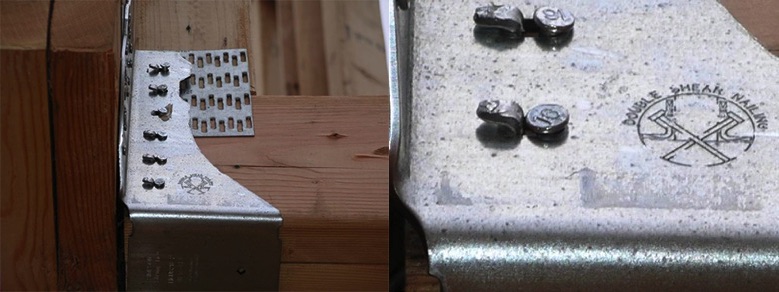
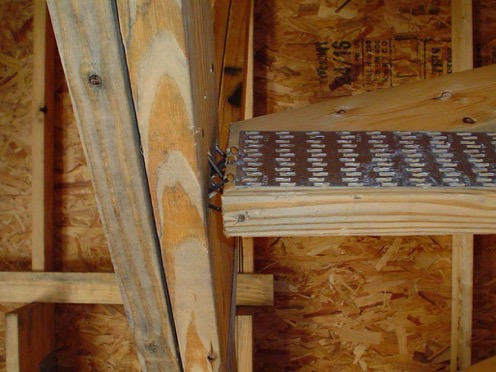
Double shear hangers require joist fasteners that are long enough to penetrate through the hanger, through the joist and into the header. The joist nails help transfer load from the joist into the header, resulting in higher allowable loads.
The installation shown has had the double shear tabs bent back, and nails installed straight into the joist. Since the joist nails do not penetrate the header, this would result in a reduced capacity.
Holdowns
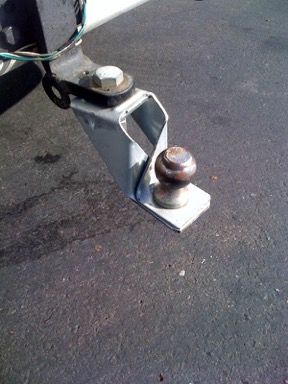
I’m including the trailer hitch installation because it makes me laugh no matter how many times I see it.
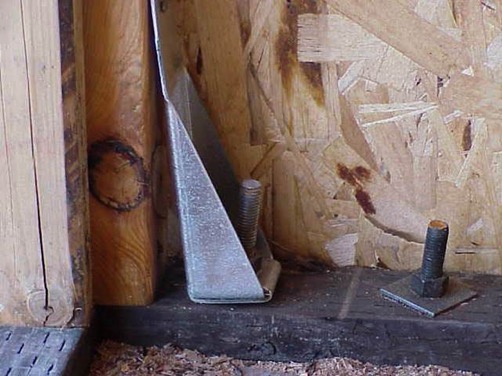
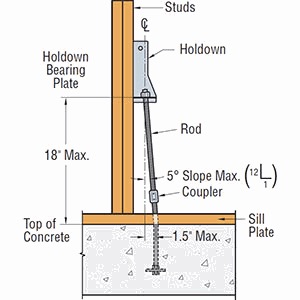
A very common question we get about holdowns is related to posts being offset too far from the anchor bolt (or is the anchor too far from the post?). In the installation shown below, the holdown is not flush with the post as the anchor bolt is offset about 1 inch. For small offsets up to about 1½”, a common solution is to raise the holdown off the sill plate and extend the anchor bolt with a coupler and bend it so there is a small (1:12) slope to it.
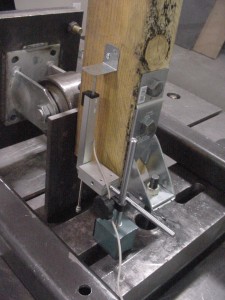
The holdown test standard, ICC-ES AC155, which is discussed in this post, requires that holdowns are tested raised off the test bed, which you can see in the photo below. Holdowns may be raised up to 18” above the top of concrete without a reduction in load provided that the additional elongation of the anchor rod is accounted for.
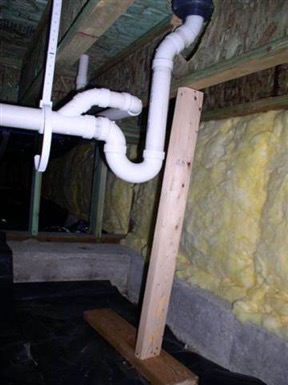
I like this photo because the installer put on the nail stops to protect the pipes. It is good to remember that plumbing happens when laying out a structural system.
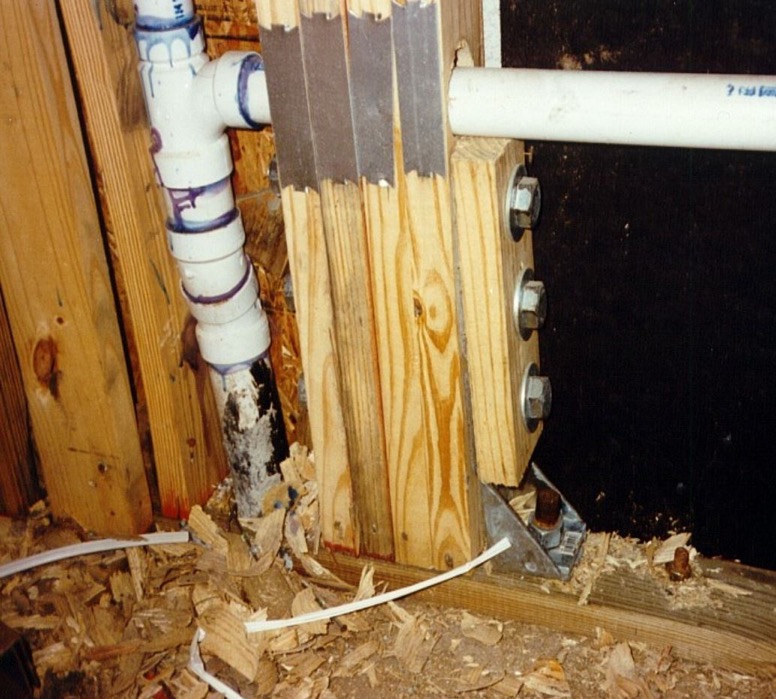
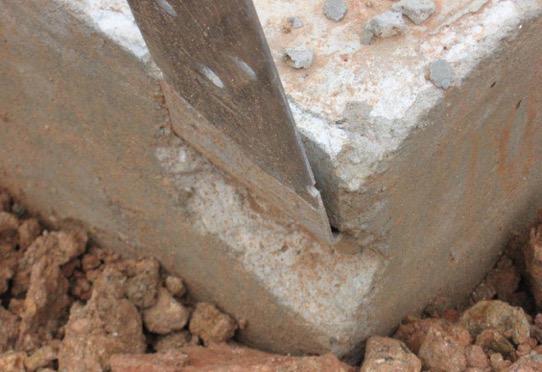
The photo above is not a misinstallation, but something that can happen. Embedded strap-style holdowns are cost-effective solutions for shearwall overturning or wind uplift. It is permitted to bend the straps to horizontal and back to vertical one cycle. If spalls form, they should be evaluated for reduced loads. Any portion of the strap left exposed should be protected against corrosion.
Hanger Gaps
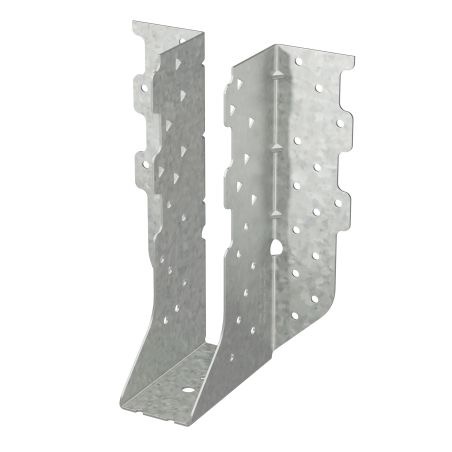
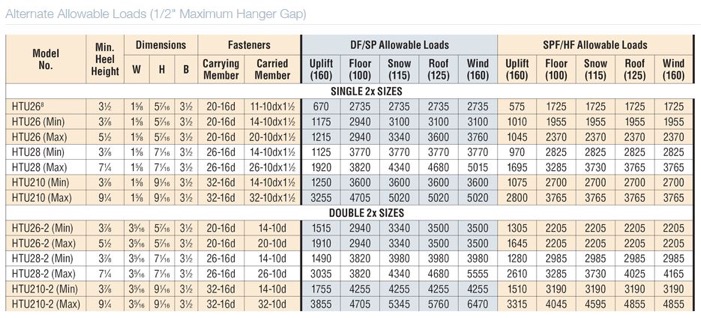
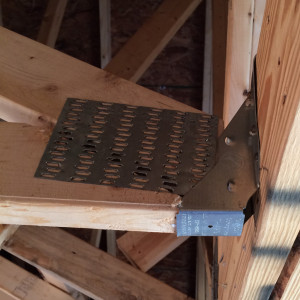
Gaps can occur between trusses and supporting girders for a variety of reasons. For standard hanger tests, a 1/8″ gap is required between the joist and header per ASTM D7147. A resource for evaluating conditions with larger gaps is our technical bulletin Allowable Loads for Joist Hangers with Gaps. The technical bulletin has load data for a variety of hangers with gaps up to 3/8″, as well as recommended repairs for larger gaps. Our HTU product series comprises truss hangers specifically engineered to allow gaps up to ½”.
After going through a design project and carefully selecting the members and details of construction, it can be frustrating as an engineer to get that phone call from the general contractor or building inspector informing you that something is not right with the construction. Understanding some of the resources available to address installation errors can help solve these problems more quickly, and get you back to designing the next project.


