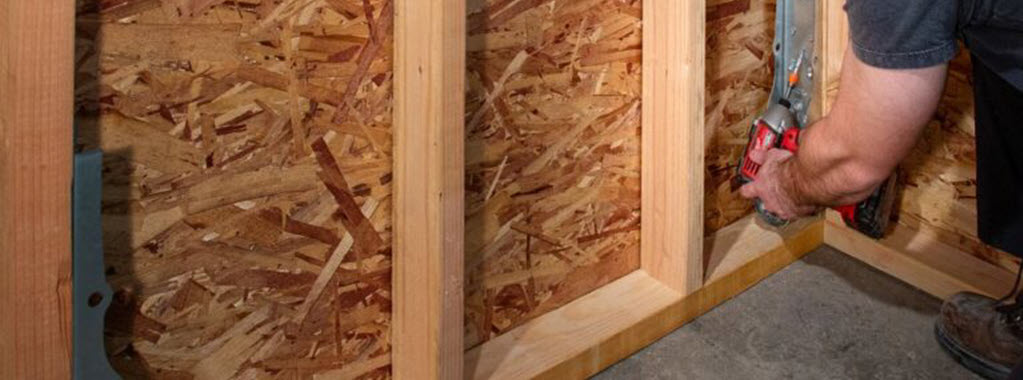
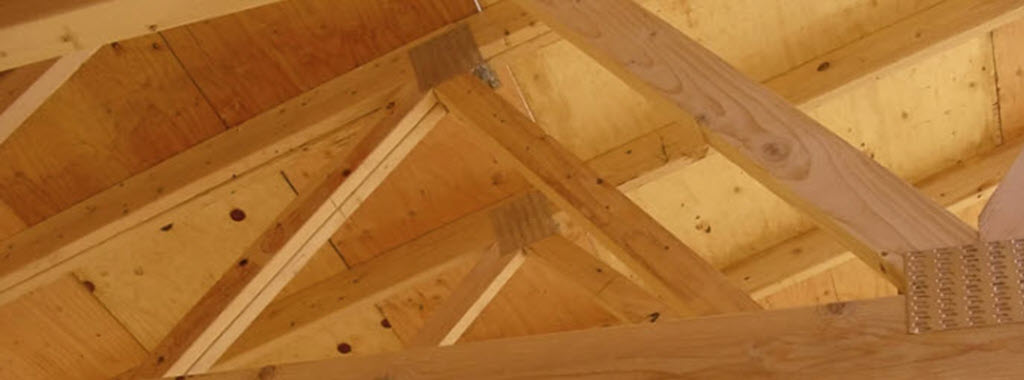
Designing wood structures properly requires a broad knowledge base of a variety of materials and how they go together. However, it can often be difficult to find educational opportunities for designers to learn about wood design or keep up with new technologies on wood construction.
Fortunately, there are some unique chances this summer to increase your knowledge about wood as a construction material.
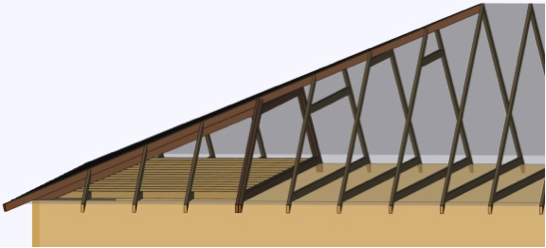
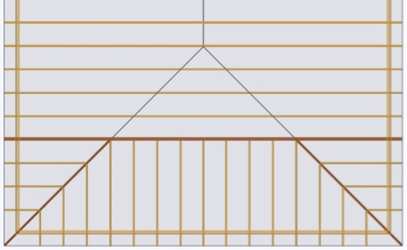
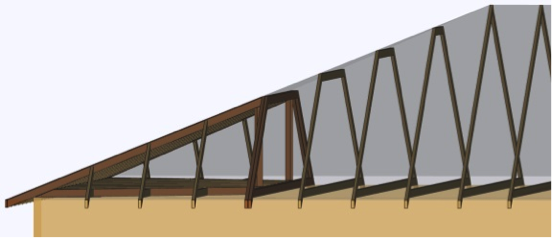
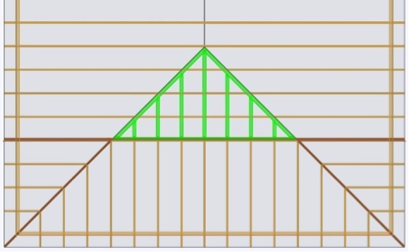
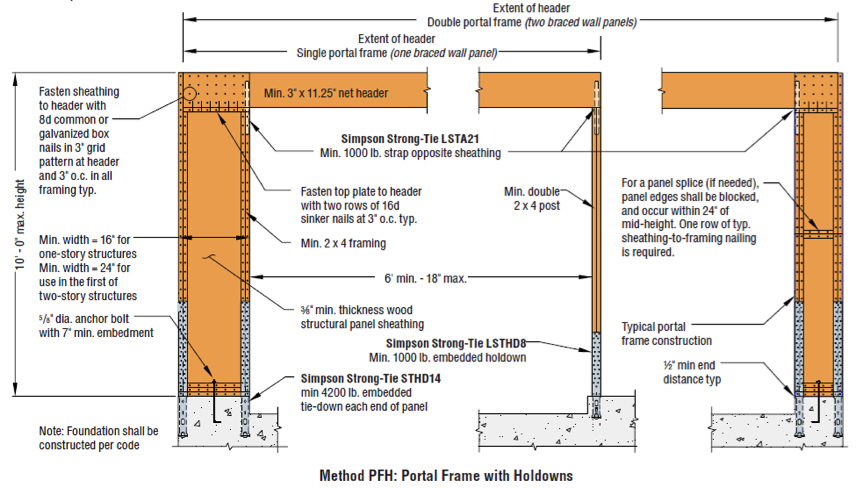
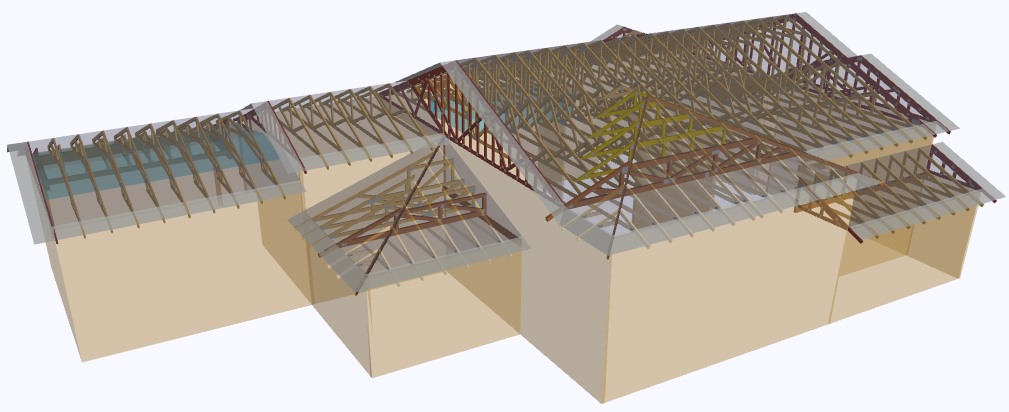
There is a short course titled Advanced Design Topics in Wood Construction Engineering, being held May 21 and 22 at Virginia Tech University in Blacksburg, VA. It is intended for designers, inspection professionals and builders that want to expand their general knowledge of wood as a building material and their knowledge of building design beyond the introductory level. The agenda includes sessions on Decay Processes, Design for Durability, and Insects that Attack Wood; Wood Shrinkage Issues in Construction; Lumber Grading Methods and Design Values; Design of Built-Up Beams and Columns; Glulam Beam Design; Evaluating Structural Capacity of Fire-Exposed Timber Beams and Columns; Multiple-Bolt Wood Connection Design; Basics of Diaphragm and Shear Wall Design; Post-Frame Building Design and Diaphragm/ Shear Wall Tests; Creep of Solid-Sawn Joists, I-Joists, and Floor Trusses; Design Considerations for Preventing Flat Roof Failures from Gravity Loads or Sustained Live Loads; Wood Truss Design Responsibilities; Wood Truss Repair Design Techniques; Permanent Truss Bracing Design Basics; and Lateral Design of Decks.
You can find more information about the Virginia Tech Short Course here. Web registration ended May 14, 2014; you can register by calling the Conference Registrar (540) 231–5182 up to the first day of the course.
If you feel like travelling, the World Conference on Timber Engineering (WCTE) will be held in Quebec City on August 10-14. WCTE is an international biannual event focusing on timber engineering, engineered wood products and design of timber structures. The conference theme is “Renaissance in Timber Construction.” Information on the conference can be found here.
But you don’t have to necessarily travel far to get quality training on wood design.
WoodWorks is a cooperative venture of major North American wood associations, research organizations and government agencies that aim to encourage and assist architects, engineers and others in the use of wood in non-residential and multi-family buildings. WoodWorks deliver knowledge to designers in three main ways: webinars, short 2-3 hour seminars and Wood Solutions Fairs. Upcoming webinars include Mixed Use Podium Design, Changes to Wood Design Standards and Healthy Buildings. Seminars scheduled for June focus on Cross Laminated Timber in California, Pennsylvania, Texas, and Washington. Finally, Wood Solutions Fairs are excellent all-day events where attendees can choose from more than 15 classes in six sessions throughout the day. The Fairs also include exhibits to allow for networking with building product manufacturers. Upcoming Wood Solutions Fairs are May 22 in Chicago, August 27 in Washington, DC, October 23 in Portland, Oregon, and November 12 in Arlington, Texas. Here is a full schedule of WoodWorks events.
If you just can’t get out of the office, or you don’t like to travel, there are still ways to keep up with the wood industry. Several groups offer webinars or self-study classes on various subjects.
WoodWorks, mentioned above, is a good resource. The American Wood Council (AWC) is the voice of North American traditional and engineered wood products, representing more than 75% of the industry. AWC’s engineers, technologists, scientists, and building code experts develop state-of-the-art engineering data, technology, and standards on structural wood products for use by design professionals, building officials, and wood products manufacturers to assure the safe and efficient design and use of wood structural components. AWC also provides technical, legal, and economic information about wood design, green building and manufacturing environmental regulations advocating for balanced government policies that sustain the wood products industry. AWC has begun offering regular webinars on various subjects with complimentary registration. Upcoming webinars include the AWC Prescriptive Residential Wood Deck Construction Guide on May 22, AWC Web-based Calculators and Other Resources on June 24, and Prescriptive and Engineering Design per the 2012 WFCM will be offered some time in the fall. Also, AWC has a comprehensive library of e-courses on their website as well as a helpdesk via email, info@awc.org.
In addition, the International Code Council offers a variety of online training classes as part of their ICC Campus Online. Most have a nominal fee, but several are available free of charge. They have a Catalog of Classes on their website.
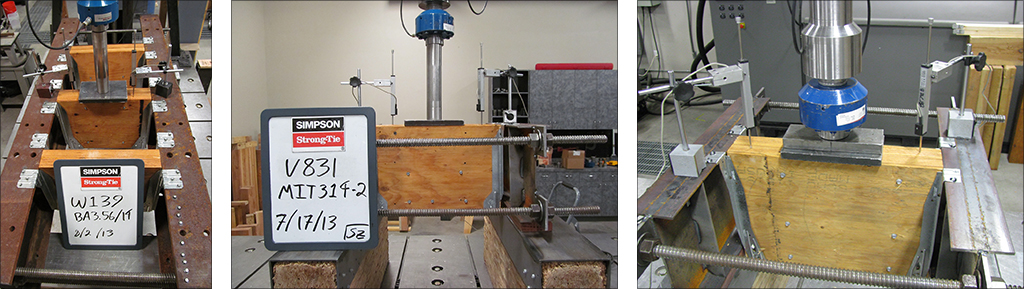
And finally, don’t forget about resources available from Simpson Strong-Tie. These resources range from full and half-day workshops offered at various locations throughout the country to online courses you can take from the comfort of your own office. Many of these courses come with CEU credits and some also offer AIA credits. And if you would like a personal visit, such as a lunch-and-learn, contact your local sales rep, or one of our regional offices and ask to speak with the training manager.
Do you know of any other good events coming up? Keep the conversation going.